

Sometimes your cheeks deserve the spotlight. Stepping out for date night or just feeling fearless, a bold blush moment is your ultimate beauty sidekick and the quickest way to spice up your look.
Now, hear us out …we’re not talking about clown cheeks or neon stripes. Bolder blush looks are modern and strategic.
Bold can be as simple as trading in soft beige for a rosy mauve. Or, if you’re feeling adventurous, sculpting your cheekbones with punchy coral or sun-kissed berry.
And yes, you can sculpt with your cheek color! Anyone remember the 80’s? Maybe you missed it, but blush-as-contour was everywhere.
Today, we’re leaning into a softer, more seamless approach, but with the same “lift and define” effect.
Bold blush is all about channeling your mood, owning your style, and having fun with a little extra color.
Colorful Cheeks, Endless Confidence
Let’s play with color and try bold blushing looks from a flirty pop of glow to soft, sculpted cheekbones.
Bold doesn’t come in just one shape. It’s about taking a tiny leap beyond your everyday routine and seeing yourself in a whole new way.
Blush is meant to be playful and flirty. Sweep it on, blend it out, and let your glow tell your story. Mix, match, and rotate them like your lip gloss wardrobe to find your version of bold.
Follow these step-by-step blush techniques, each look builds confidence, with three standout styles that take your cheeks from supporting role to main character.
- Draped Drama – Blush as a sculptor. Learn how to sweep blush high into the temples for a sculpted, lifted effect.
- Monochrome Flush – Blush as a harmonizer. Discover how to match cheeks, lips, and eyes in one color family for a chic, pulled-together vibe.
- Bold & Sculpted – Blush as a power move. See how layering deep and bright tones creates definition, drama, and spotlight-ready cheekbones.

Draped Drama
Think: 70s and ‘80s inspo meets modern editorial chic.
What is Draped Blush?
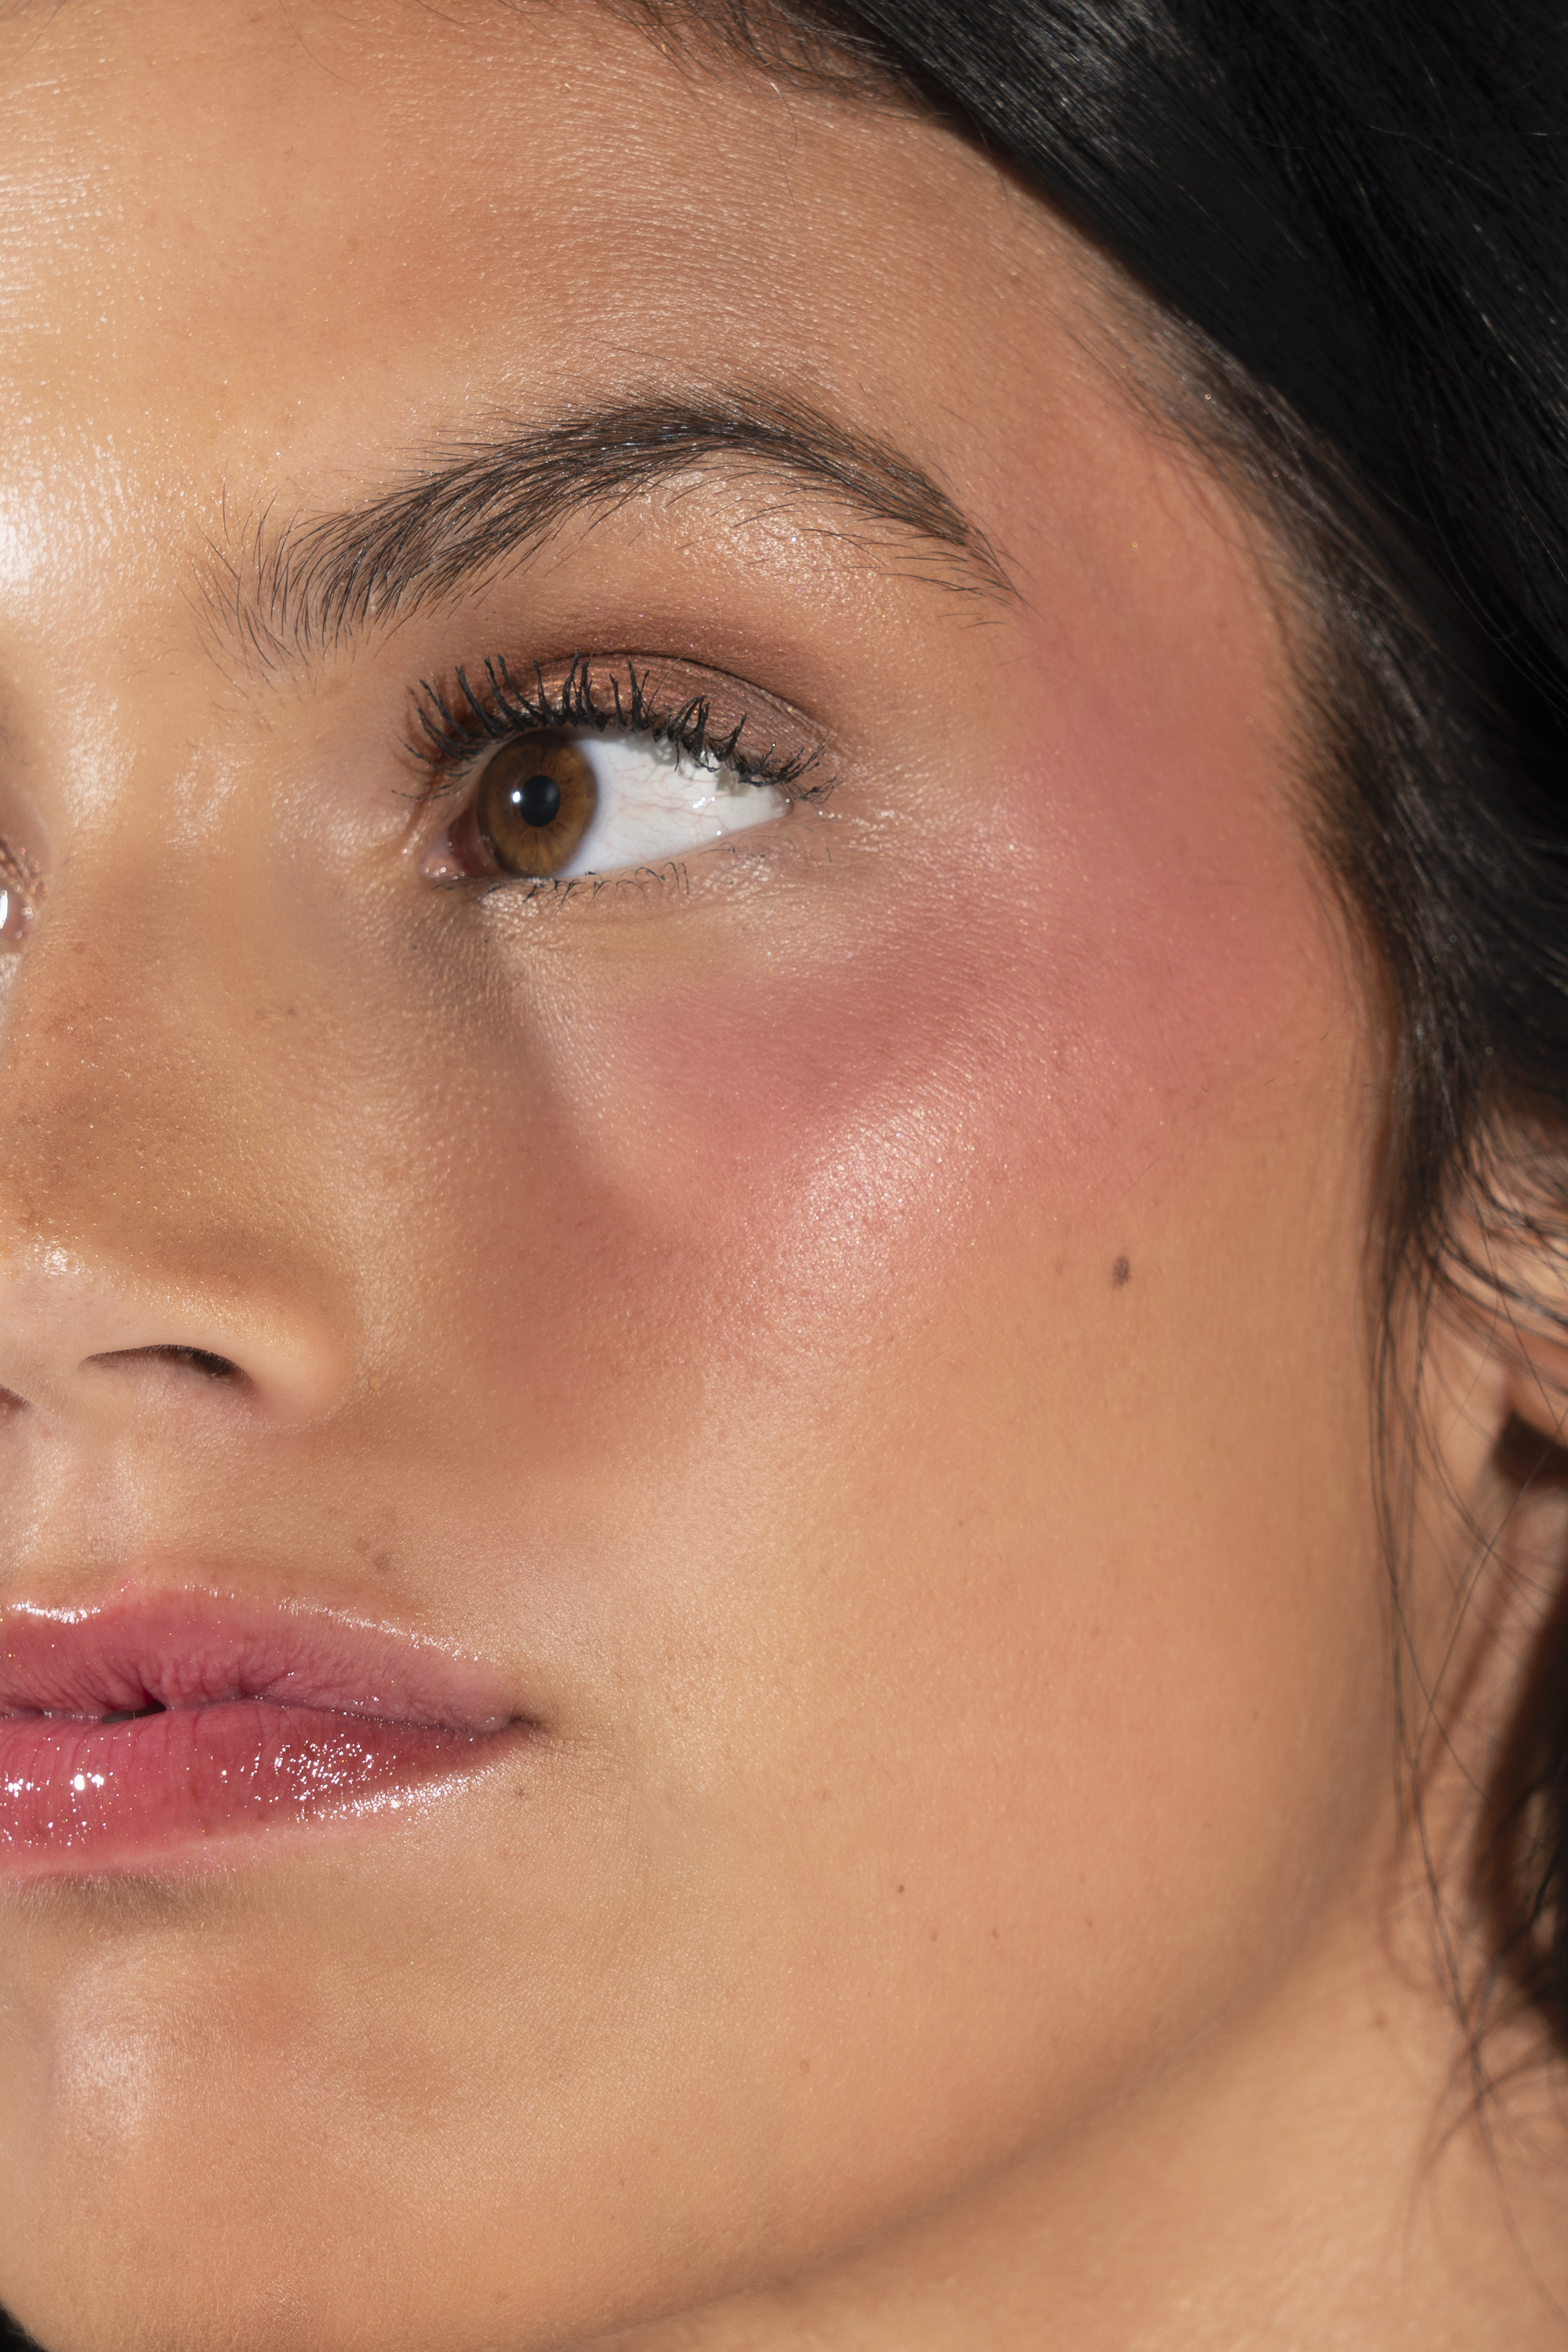
Draped blush is a placement technique where color sits higher
on the face, not on the apples of the cheeks.
Instead, the blush is applied to the high points of the cheekbones
and blended upward into the temples.
For a more editorial, monochromatic effect,
it can even be swept softly onto the eyelids.
The result?
A sculpted, lifted look that uses blush as a colorful contour.
Pro tip:
Apply blush before your base and let the foundation “veil” over it. This keeps the color soft, avoids over-application, and prevents a cakey finish.Pair with nude glossy lips and minimal eye makeup so your cheeks remain the star.
Why Should I Try Blush Draping?
- Sculpted structure – Placement on the cheekbones (not the apples) creates sharper definition and the illusion of higher bone structure.
- Lifted effect – The upward blending motion gives the face a naturally lifted, radiant finish.
- Modernized finish – Diffusing the bold blush with a muted beige softens harsh edges and makes the look fresh, wearable, and chic.
- Monochromatic glow – Carrying blush from cheeks to temples to lids creates a seamless wash of color that feels cohesive and playful.
A Throwback with a Modern Twist
This technique was first made famous in the 1970s by iconic makeup artist Way Bandy, who used blush to sculpt and contour the face before bronzers were popular. Back then, the look was bold and dramatic.
Today, blush draping is making a comeback, but with softer blending, creamier textures, and a modern edge.
Muted neutrals blended around the cheeks diffuse bold tones, keeping the look flattering and fresh for everyday wear.
How to Drape Your Blush
Step 1: Pick Your Power Shade
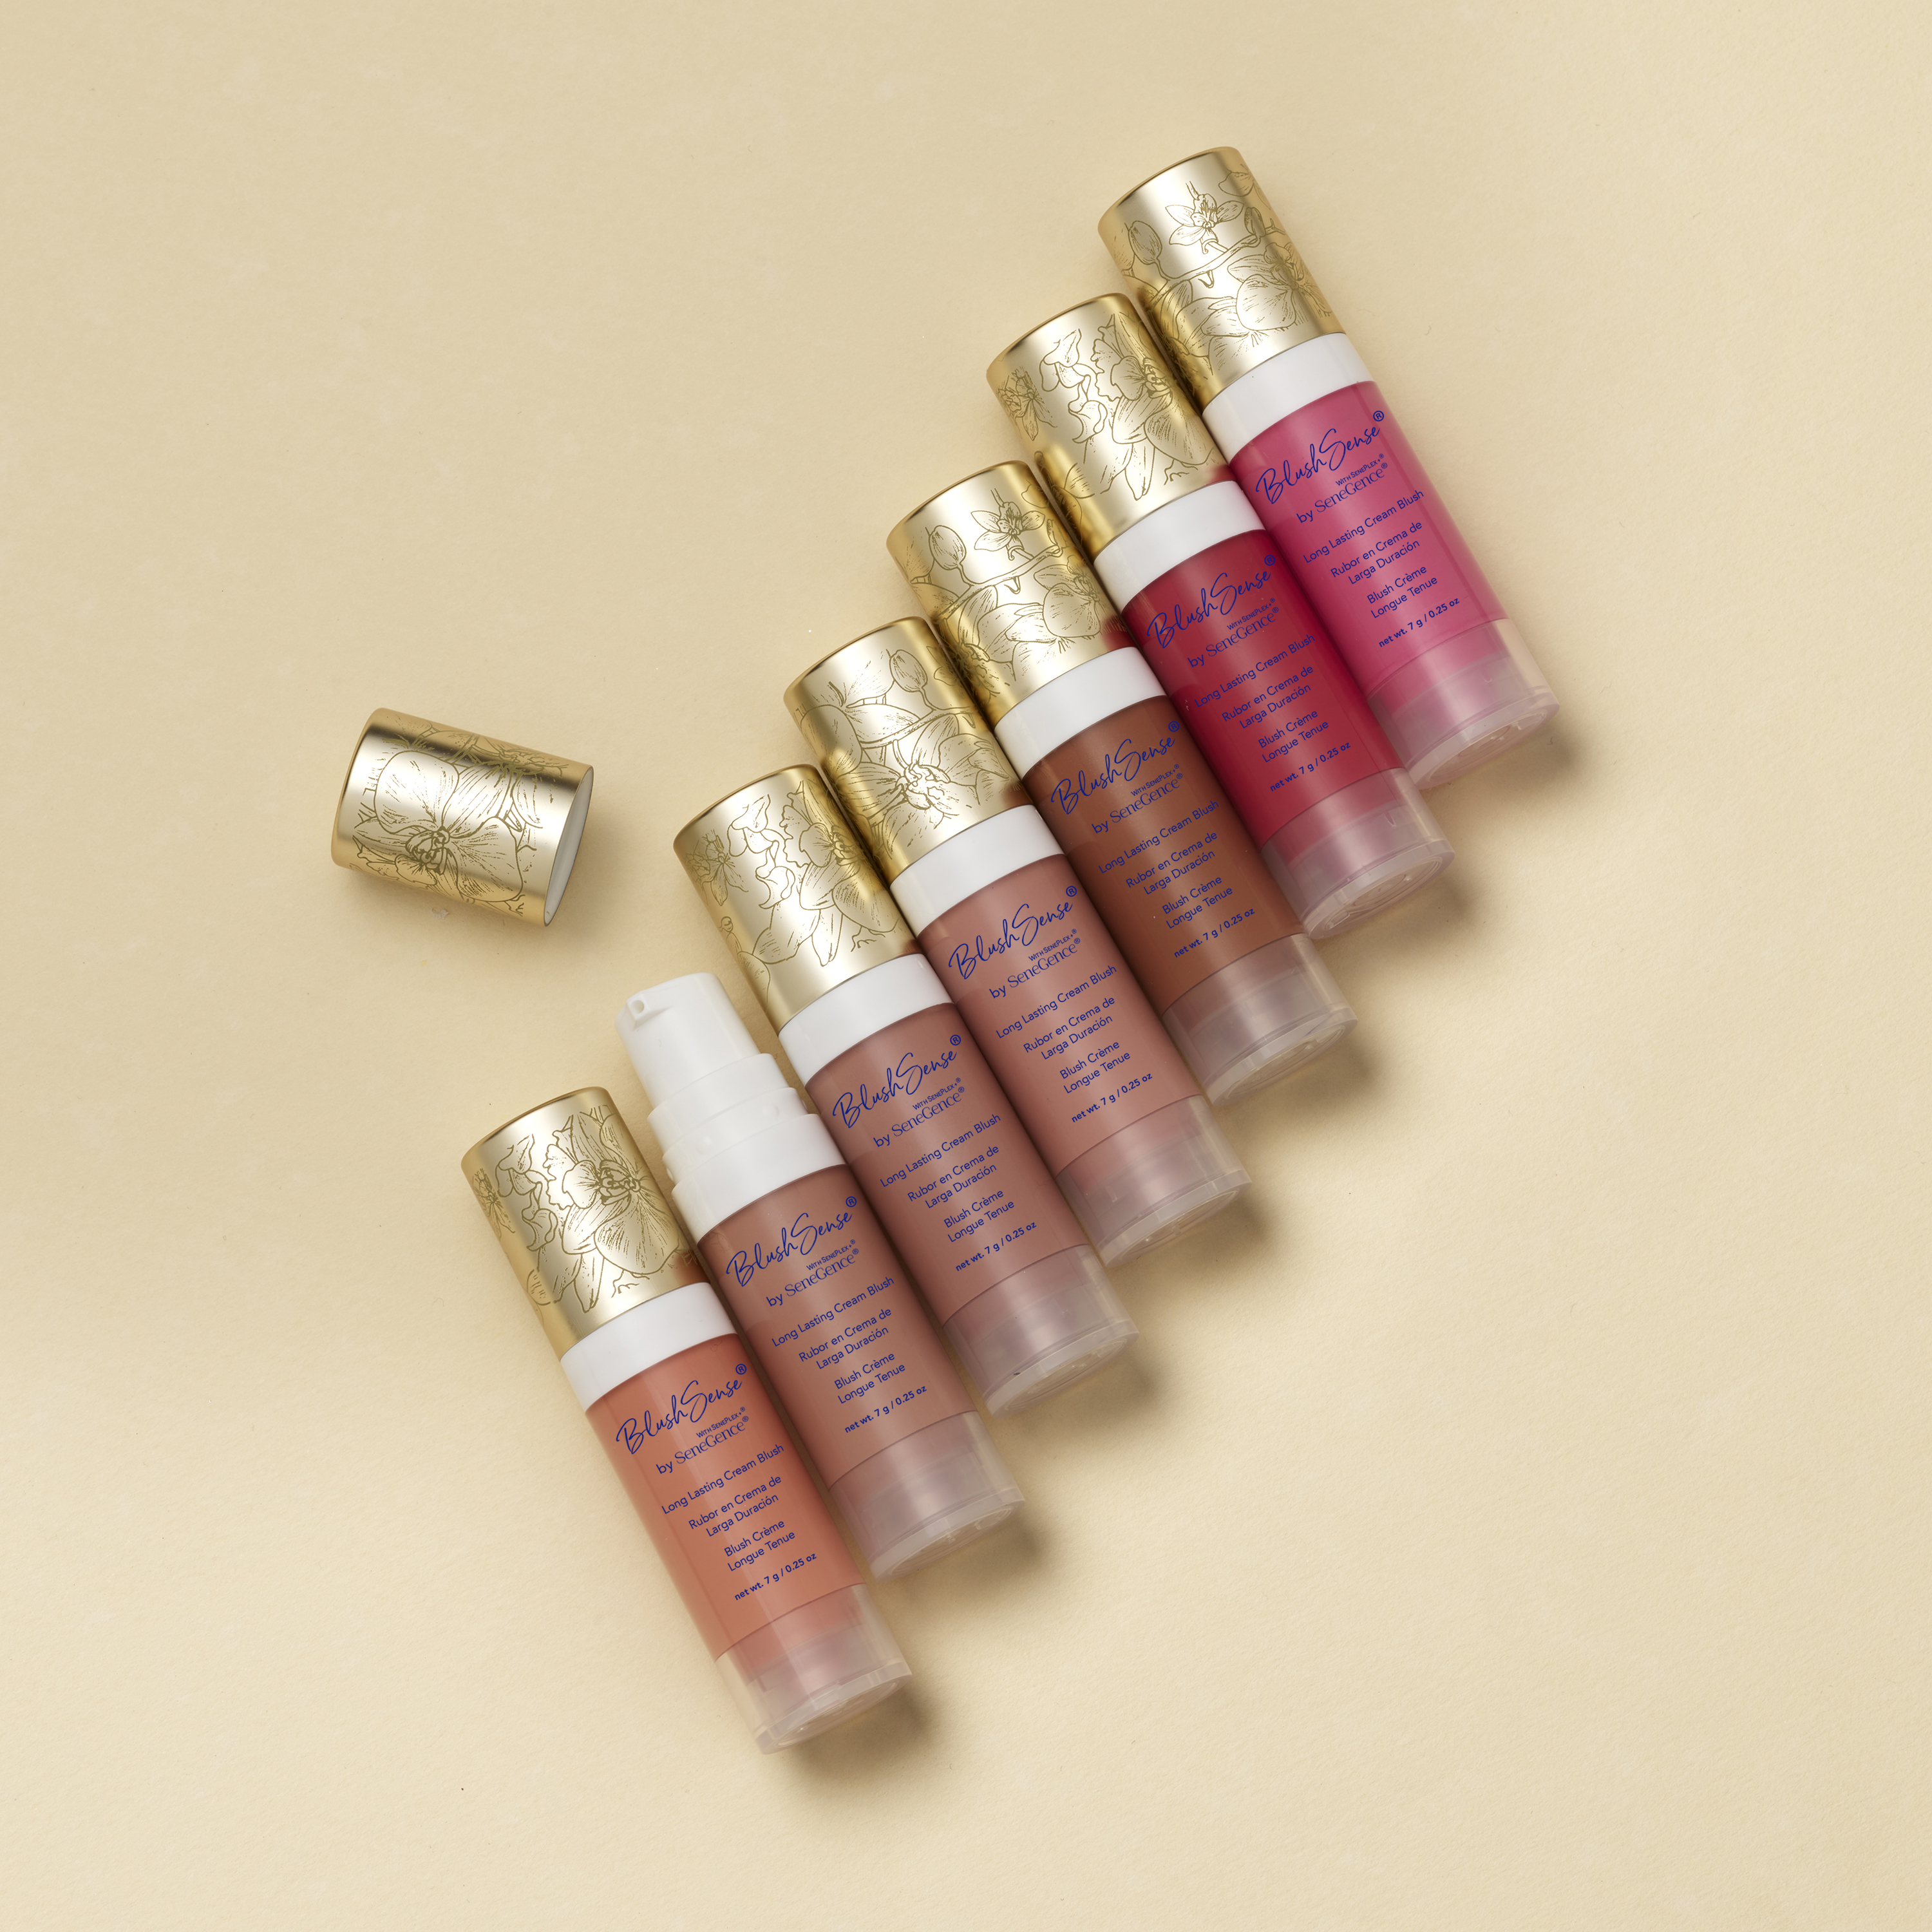
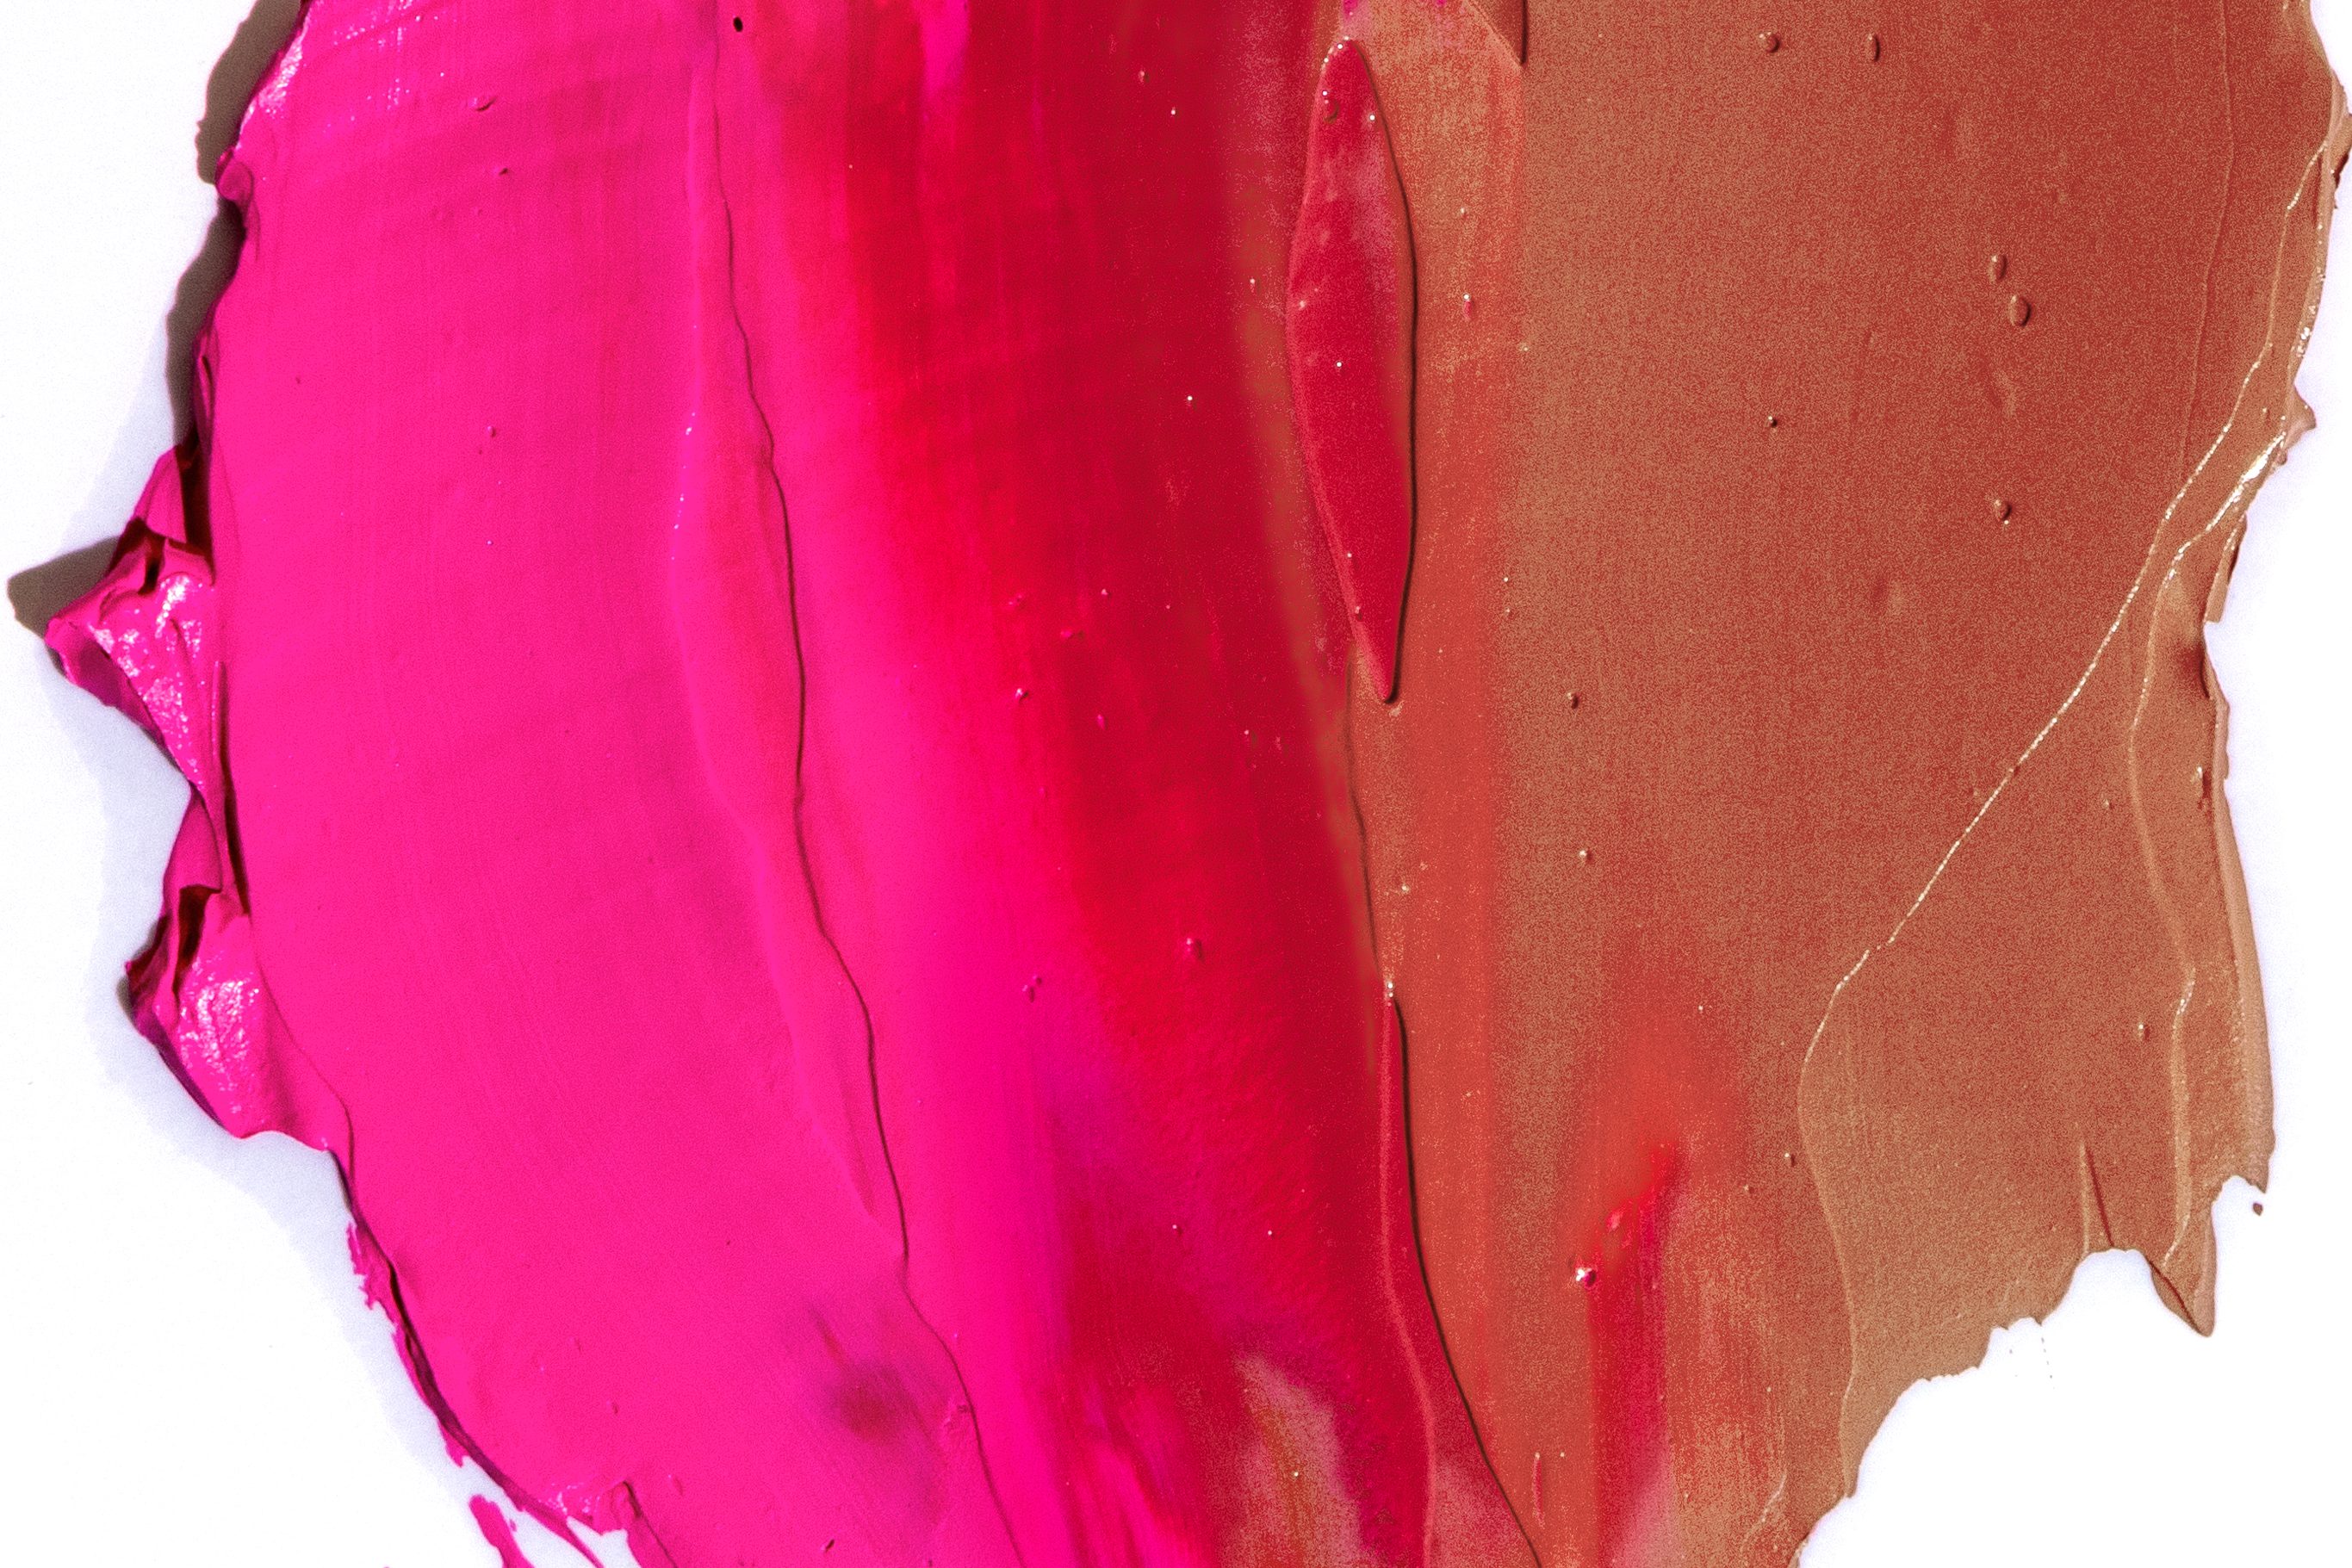
Choose a bold hue like Flamingo Pink, Cherry, or Pink Berry. These vibrant colors stand out in person and photograph beautifully.
Creamy, high-pigment formulas pack a punch so start with a light hand. You can always build up intensity (it’s way easier to add than to take away!).
Placement: Focus high – Dot the blush right on the high points of your cheekbones, where you’d normally place highlighter. It may feel new at first, but this placement is what creates the signature draped effect.
Step 2: Blend Up and Out
With a medium, fluffy brush, feather the color upward and outward toward
the temples.
Extend softly and keep blending into the temples, adding layers until you reach your desired lift and drama.
Step 3: Diffuse the Edges
Soften the look by blending a muted shade like beige-taupe or a soft neutral around the outer edges.
This technique modernizes the effect, taking it from ’70s retro to modern chic and seamless.
Step 4: Add the Optional Pop
Want to go editorial? Dust a touch of the same blush shade over your eyelids for a monochromatic wash of color that ties the whole look together.
Step 5: Per-fect the Canvas
Finish by evening out the rest of your skin with Foundation or
Tinted Moisturizer.
Monochrome Flush
When your blush, lips, and eyes are perfectly in sync.
What is a Monochromatic Makeup Look?
A monochromatic makeup look is when you use the same color
family across multiple features: cheeks, lips, and even eyes.
Instead of juggling different shades, everything ties together
with one harmonious tone.
Think coral blush paired with coral lips and a soft coral wash on the lids,
or plum hues that flow from your eyes to your cheeks to your gloss.
It’s not about old-school, matchy-matchy makeup.
It’s about creating a flow of color within the same color family
that feels modern, polished, and effortless.
Why Should I Try a Monochromatic Flush?
- Effortless Coordination – No more guessing if your lip clashes with your blush. The whole look just works.
- Quick & Easy – Sticking to one color family speeds up your routine and keeps things simple, even if you’re not a pro.
- Versatility – Keep it soft and sheer for every day, or build it up into bold, editorial drama.
- Flattering Glow – Monochrome makeup enhances your undertones, giving a natural, cohesive finish that always looks fresh.
How to Create a Monochromatic Flush:
Step 1: Choose Your Color Story
Pick one family of color and let it set the tone.
Try a sun-warmed apricot blush paired with a tangerine lip and a peach wash on the lids.
Or lean into rich berry tones with a raspberry blush, a wine-stained gloss, and a soft violet shadow.
The harmony across features keeps the look chic, cohesive,
and elevated.
Step 2: Build Gradually
Start with a sheer wash of color on the cheeks and lips, then add layers if you want more impact.
This approach keeps the monochrome effect polished and prevents it from feeling overdone.
Step 3: Blend for Cohesion
Soften the edges of your blush so the color melts naturally into your skin.
The goal is harmony where your cheek and lip shades echo each other without looking harsh.
Finish by sweeping an illuminating highlighter across the high points of your face.
This creates that lit-from-within glow, adding dimension and bringing your monochrome tones to life so the look feels fresh, radiant, and anything but flat.
The goal is a seamless finish where blush and lip color echo one another beautifully.
Pro Tip:
Add a matching nail color for a head-to-toe monochrome vibe.
Bold & Sculpted
Think of it as blush meets contour.
What is Bold & Sculpted?
Bold & Sculpted is all about giving your cheekbones the
spotlight — your natural bone structure but dialed way up.
Instead of simply adding color, this technique layers deeper tones
under the cheekbone with brighter pops on top to create
definition, lift, and intensity.

Pro tip:
Keep your Foundation or Tinted Moisturizer natural and skin-like. Let the sculpted cheeks be the statement, while the rest of your look stays clean and balanced.
Why You Should Go for the Bold & Sculpted
-
Instant Definition – Add shape and dimension without the need for
heavy contour. - Customizable Drama – Keep it subtle with soft muted tones or go full glam with rich wine and vibrant berry.
- Face-Lifting Effect – Place your blush to lift and sculpt, creating the illusion of higher, more defined cheekbones.
- Statement-Maker – Perfect when you want your cheeks to be the focus of the look — strong, powerful, and unforgettable.
How to Achieve the Bold & Sculpted
Step 1: Contour Meets Color
Start with a deeper blush shade (Bronze, Burnished Berry, or Berry Whip) and apply just under the cheekbone.
Think of this as where you’d normally place your shading for contour — along the hollow of the cheek — but instead of a flat brown or taupe, you’re using color to sculpt and define.
This acts like a colorful contour, carving out shape while keeping warmth
in the face.
Step 2: Layer for Lift
Next, apply a brighter or more vibrant blush (Rose Dew, Pillow Peach, or Pouty Pink) directly on top of the cheekbone.
Blend upward toward the temples to create a lifted, dimensional effect.
Step 3: Highlight the High Points
Add a Pearlizer highlighter along the tops of the cheekbones. This catches the light, enhances definition, and adds that “camera-ready” glow.
The Last Flush
At the end of the day, bold blush isn’t about rules — it’s about expression.
Draped, Monochrome, or Bold & Sculpted each bring their own personality:
one lifts, one harmonizes, and one defines.
The real magic?
Blush may wipe off, but the confidence it leaves behind sticks with you.
So, don’t be afraid to experiment.
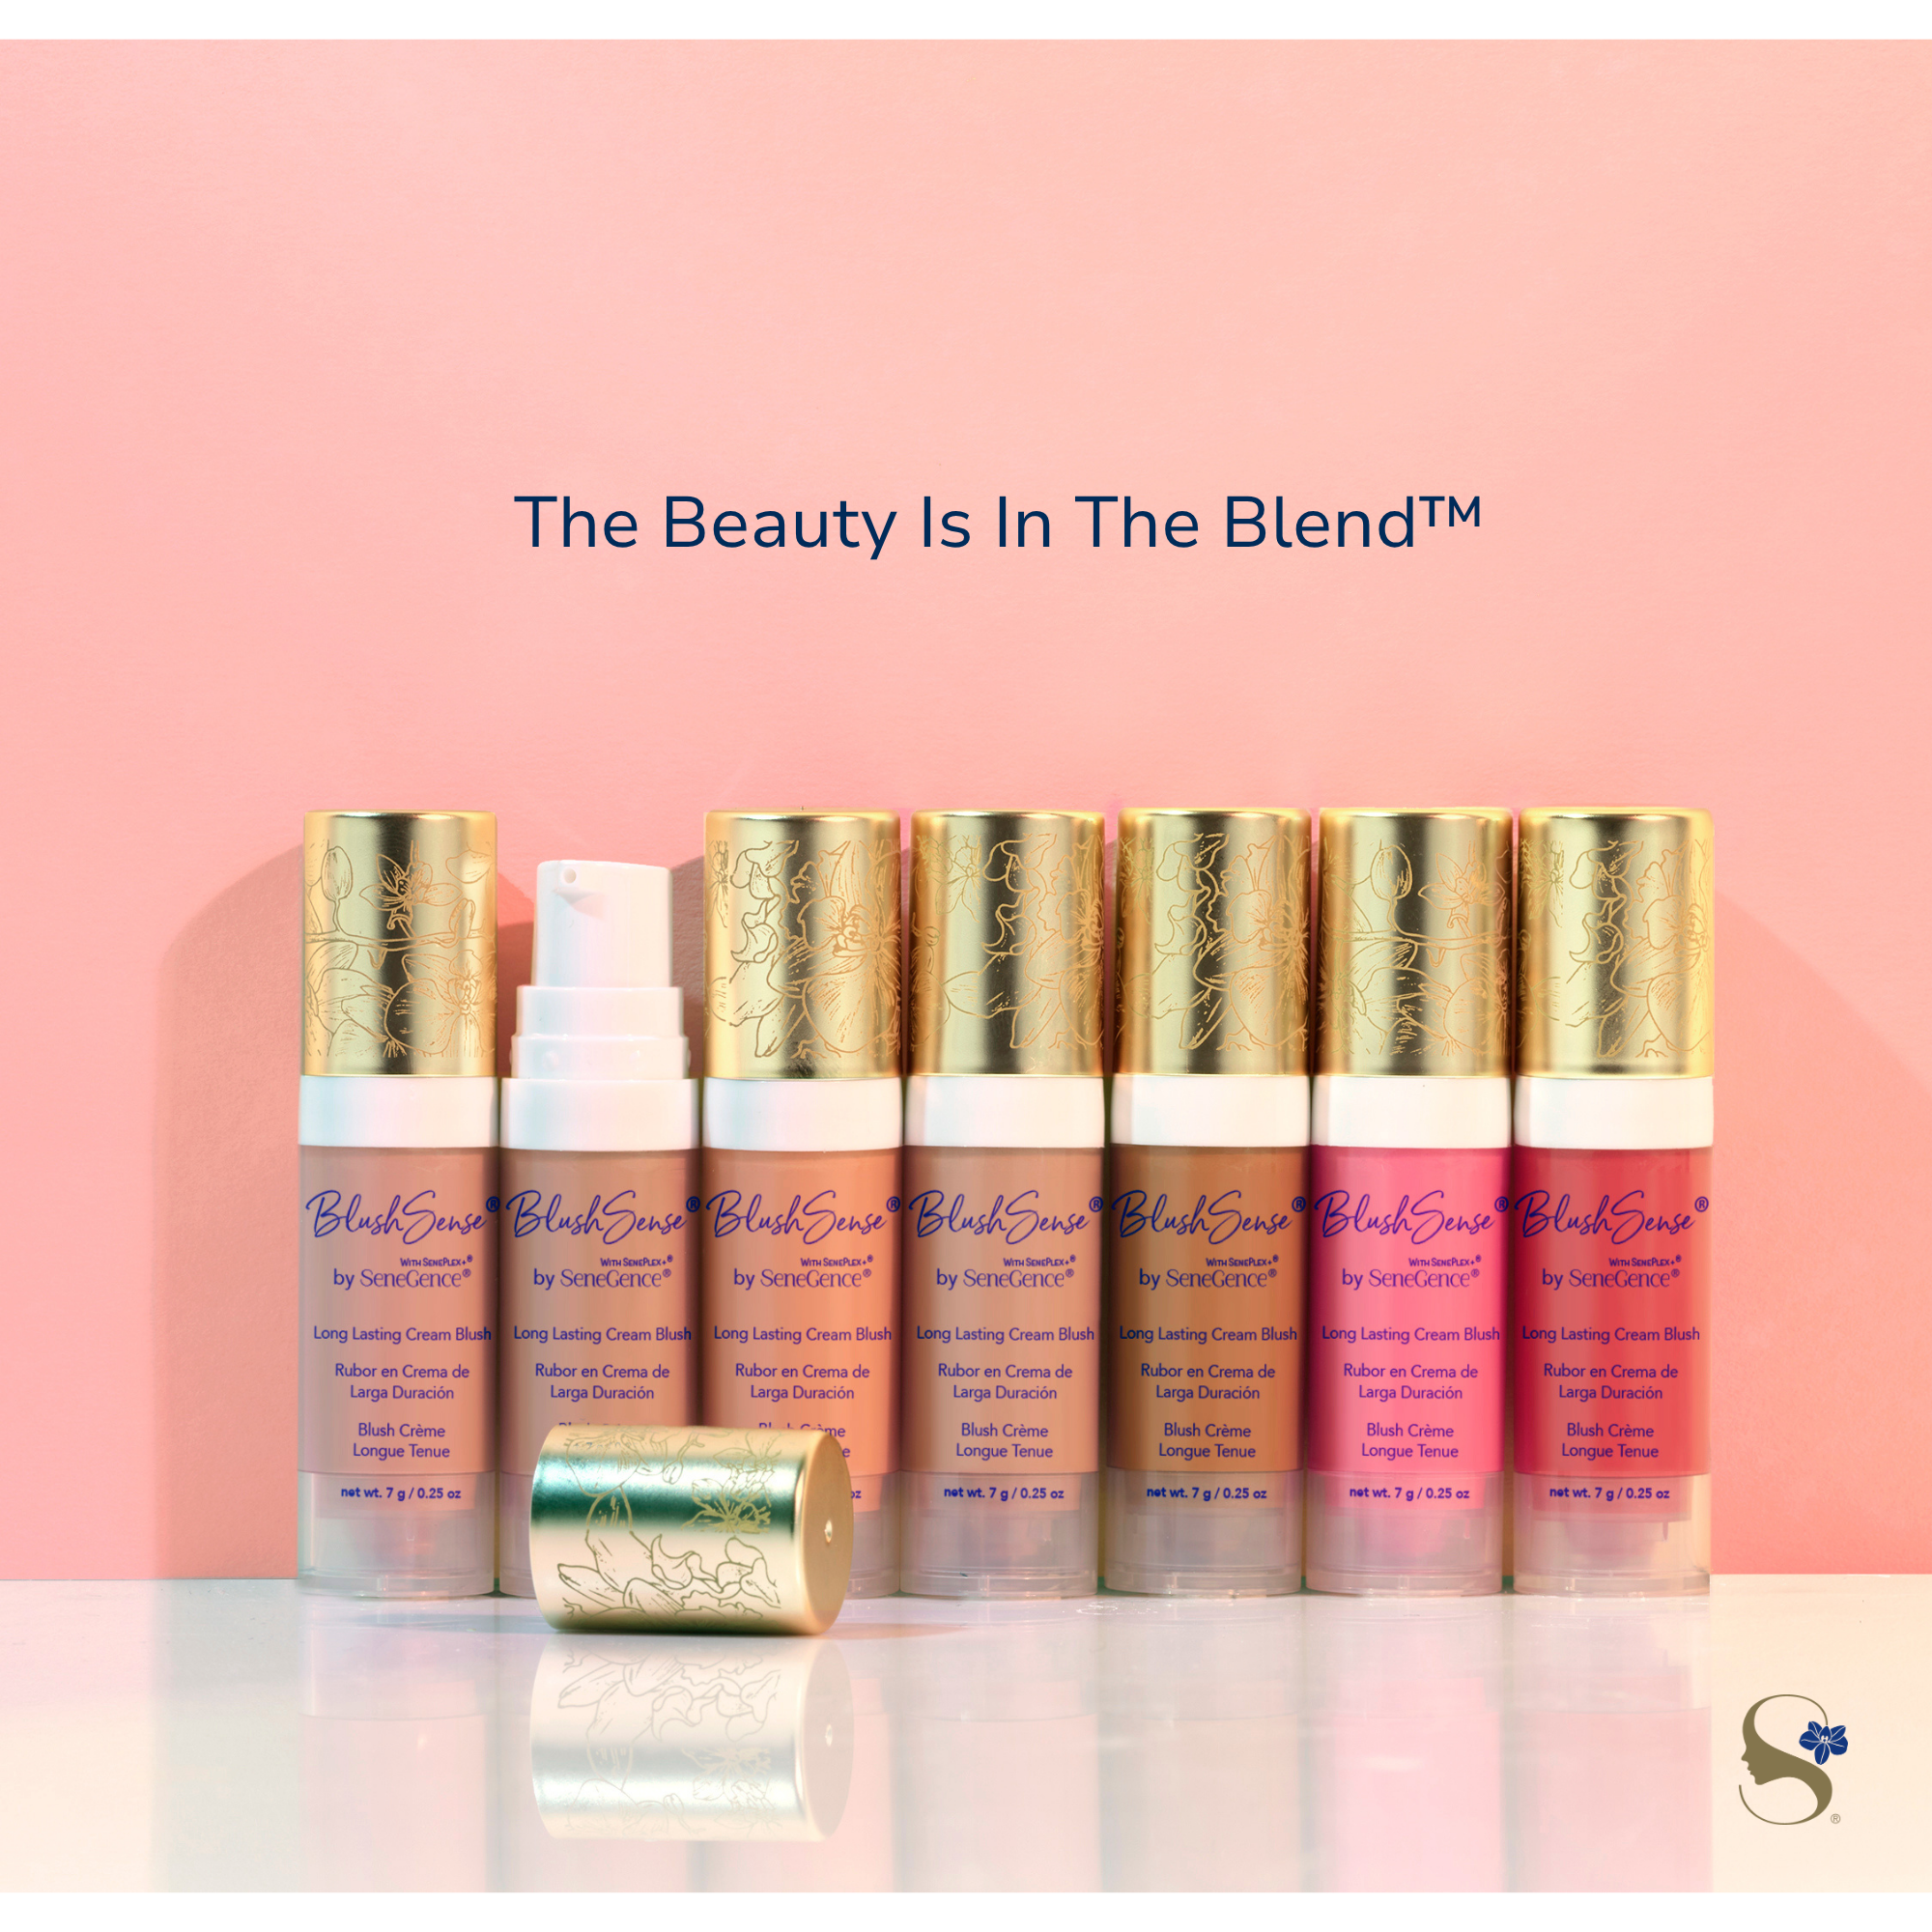
The Beauty Is In The Blend™...
Swirl the brush, play with color, and teach yourself how to soften the overall look
by finding the technique that makes you feel like your most radiant self.
Because cheeks aren’t just an afterthought — they’re the ultimate accessory.


