

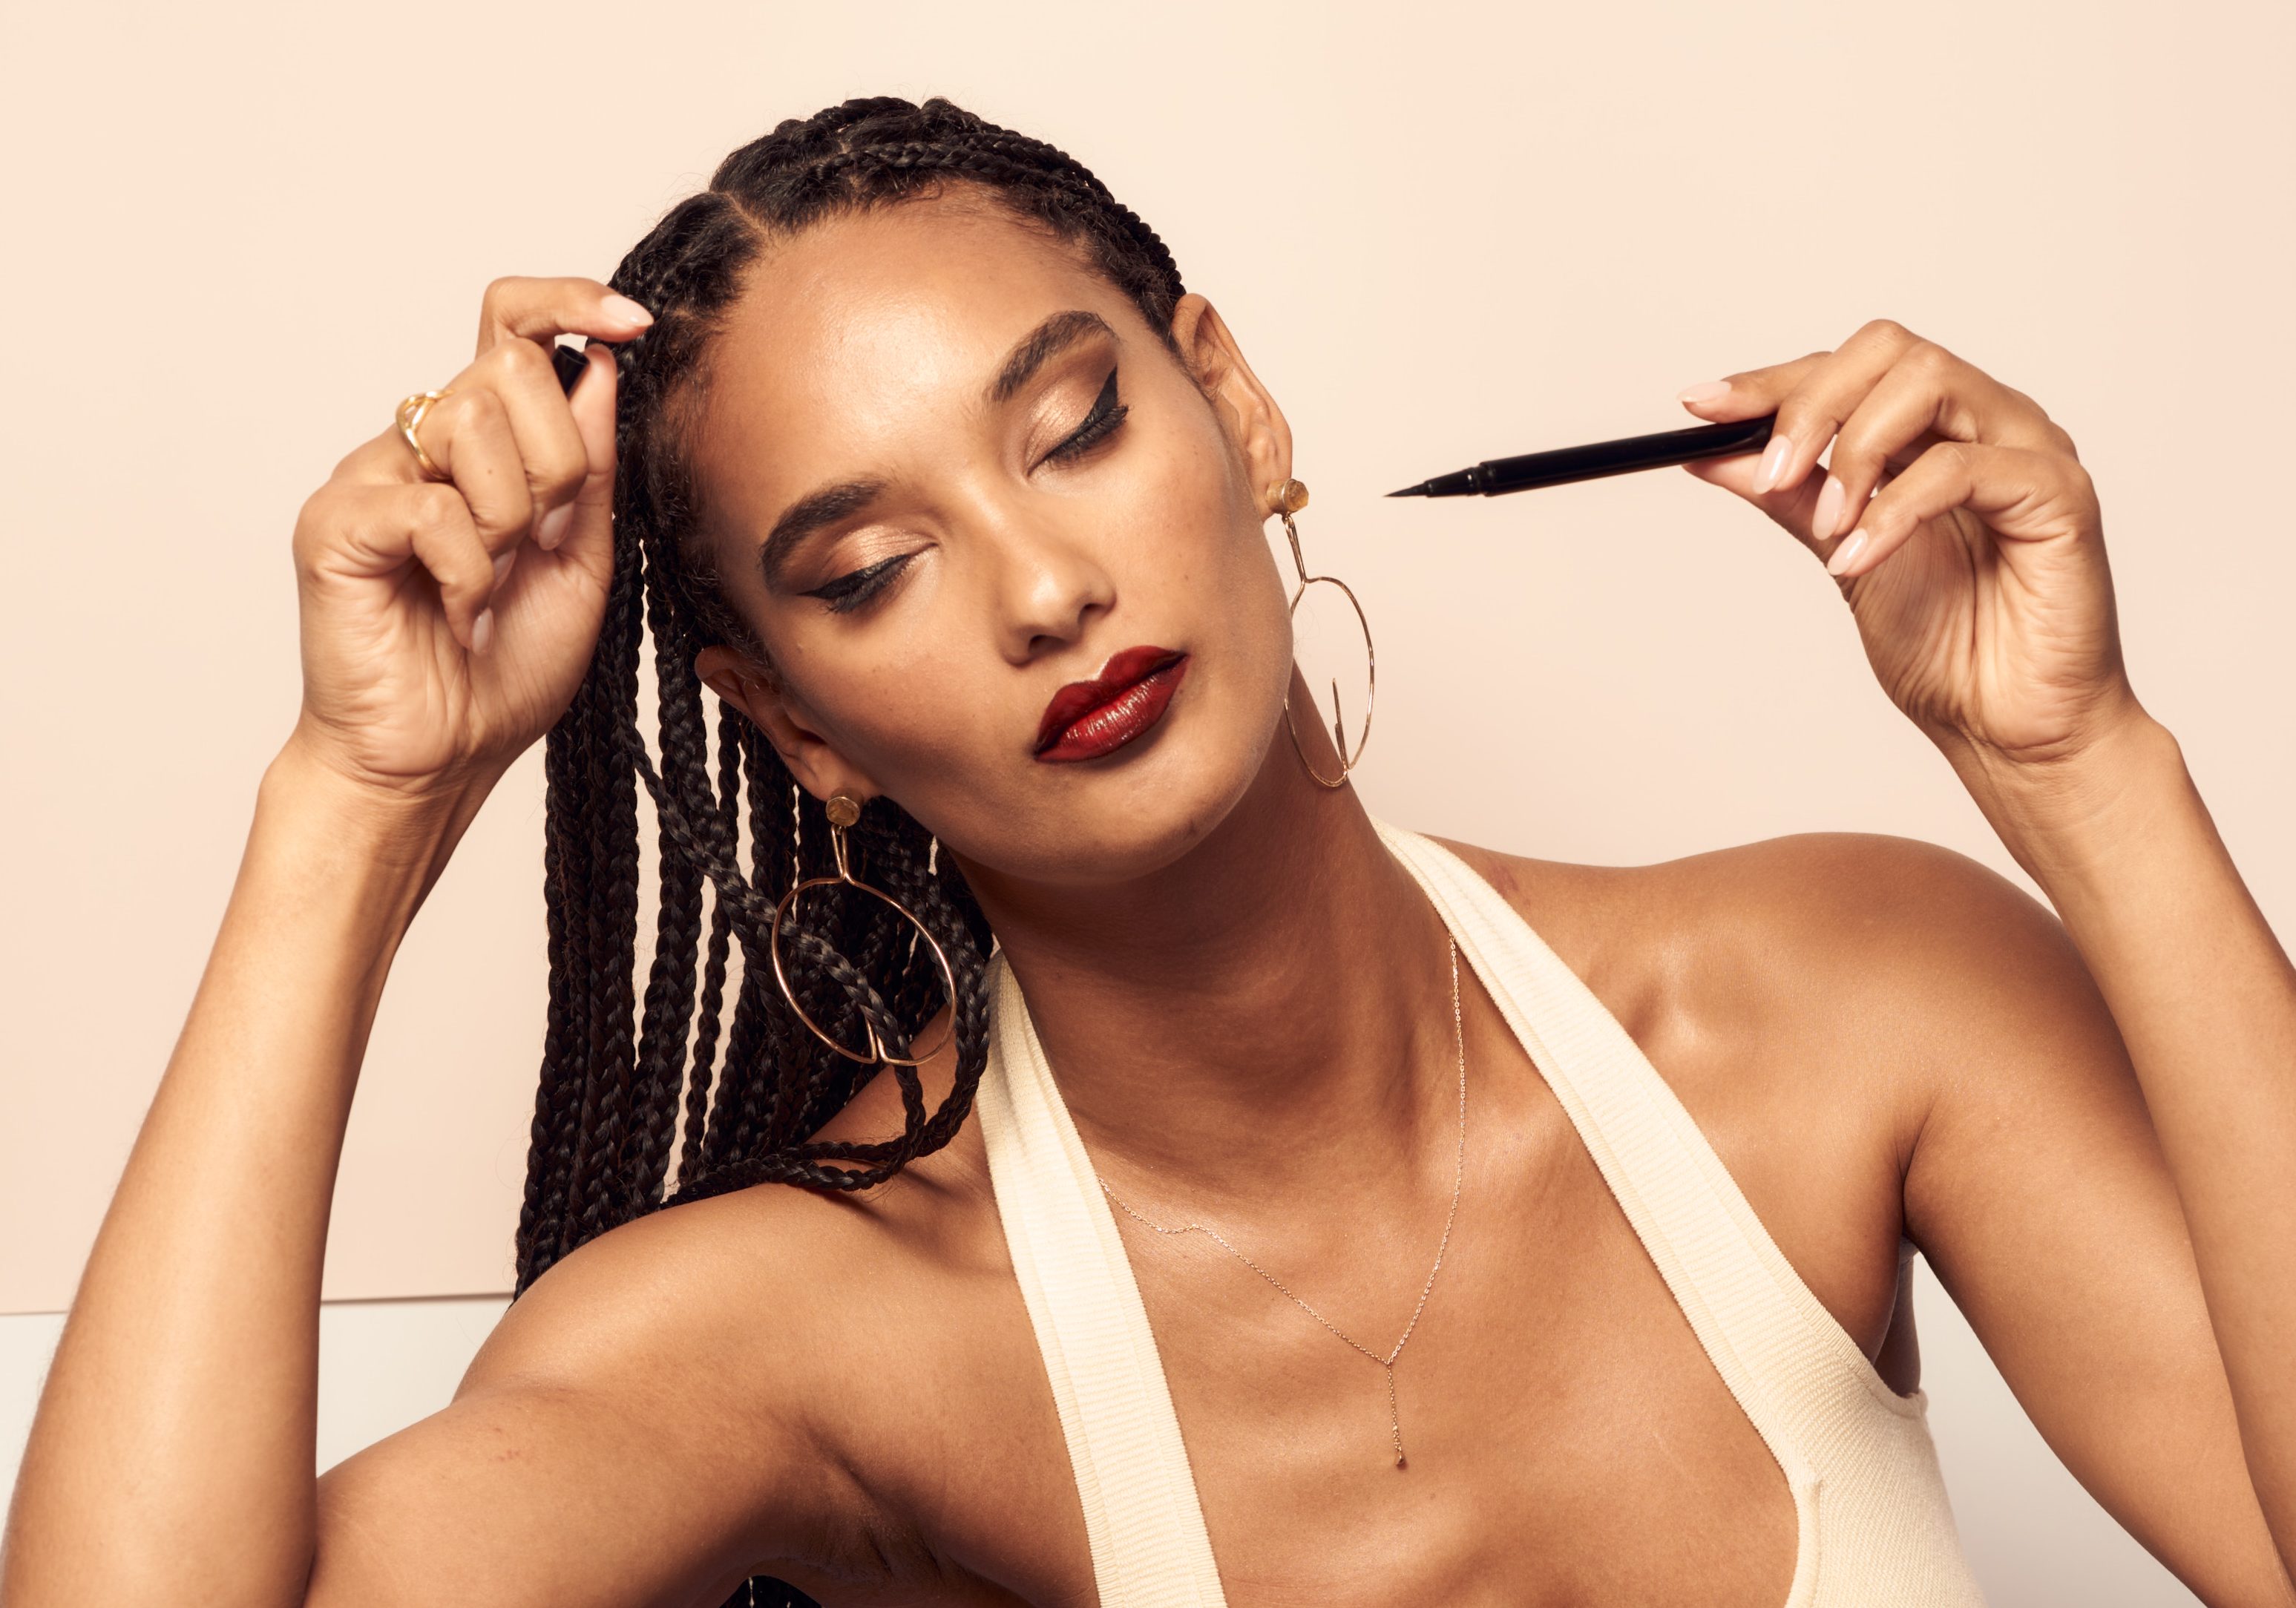
Sometimes your eyes just need to do the talking. Whether you’re stepping out for a special event, hopping on a virtual call where you want your camera presence to pop, or just feeling extra, bold eye makeup is your best beauty wing-woman.
And here’s the thing: bold doesn’t always mean neon, glitter, or sharp graphic liner.
For some, bold is simply switching from soft neutrals to a warm bronze or dusty mauve. For others, it’s adding a swipe of unexpected color or shimmer.
Bold is personal and that’s what makes it so much fun.

Ready to Explore?
Let’s turn up the drama and dive into bold eye makeup looks that range from subtle switches to full-on showstoppers.
The best part? You don’t have to choose one.
Try them all! Discover what your version of bold looks like because it isn’t one-size-fits-all. It’s about stepping outside your comfort zone and seeing yourself in a whole new light.
Think of the step-by-step guides below as your beauty adventure map: each look is a new eye-conic destination, each step builds your confidence.
And remember, stepping out of your boundaries isn’t about perfection, it’s about play. So go ahead, explore, experiment, and let your creativity shine.
The Siren Eye / Fox Eye
Think: sultry, elongated, slightly mysterious.
Step 1:
Carve Out the Wing
Use a deep shadow like Onyx, Smoked Topaz, or Woodland to carve out a wing that extends from your lash line outward, angling toward the tail of your brow.
It doesn’t need to touch the tail. Aiming in that direction creates a lifted, elongated look. This shadow technique is a user-friendly way to build the wing.
For extra precision or a sharper, chiseled finish layer on the Eyeliner Pen to refine the edges.
Step 2:
Add a Transition Shade
Blend a softer transition shade like Desert Rose or Blissful through the crease for subtle dimension. For an elevated look, layer a thin sweep of the deeper shadow shade right through the center of that transition color.
This advanced technique creates the illusion of a deeper crease and is especially flattering for hooded eyes, helping them appear more lifted, balanced, and proportioned.
Step 3:
Define The Inner Corner
Keep the inner corner lighter to balance the drama or take it up a notch by using the deeper shade with a thin eyeliner brush to create a daring sideways “V” shape (> <).
Use a very small smudger brush to softly feather out the lines, then redefine them afterward to keep those thin edges crisp against the blend.
This inner-corner technique instantly channels a “femme fatale” vibe (mysterious and powerful) while still allowing you to keep the effect soft rather than harsh.
Pro Tip:
Feather out your lashes with mascara toward the outer corners for that hypnotic, “come closer” effect. You could also experiment with some falsies and apply to the outer lashes for a fluttery effect.
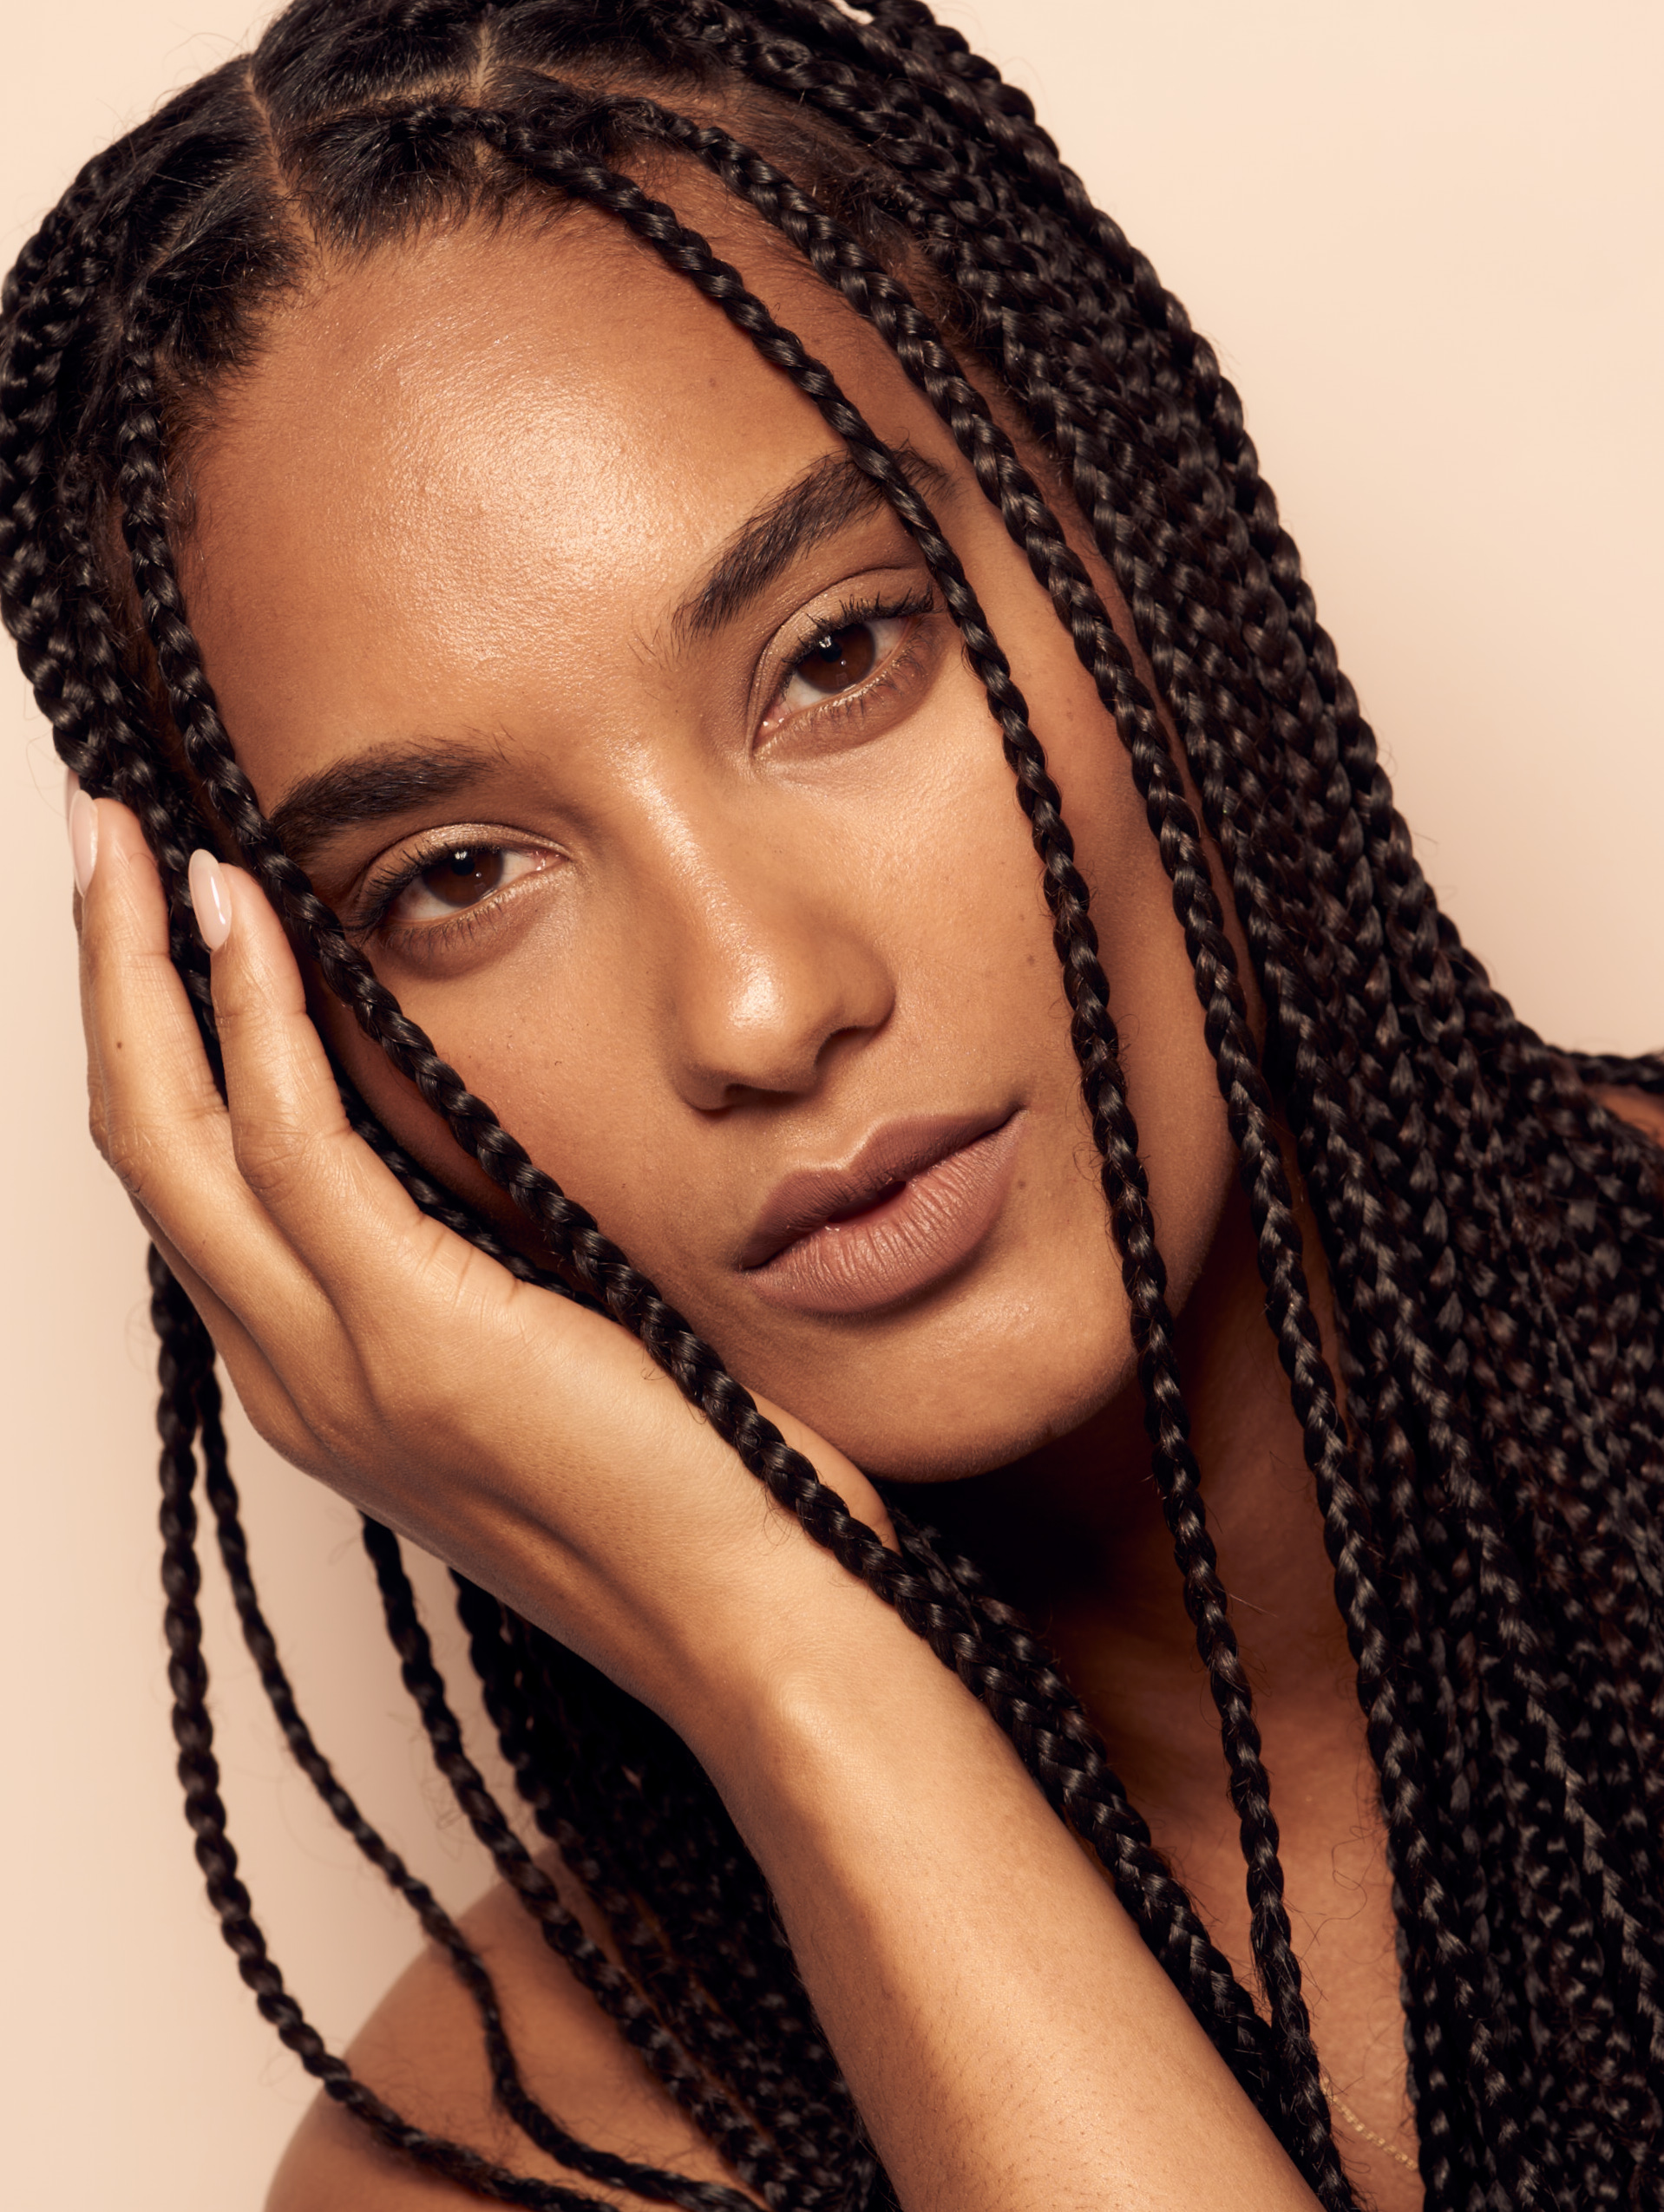
Pop of Color
Love neutral lids? Add one unexpected swipe of color.

Step 1:
Create a Clean Base
Sweep a neutral matte crème shadow like Moca Java, Natural Tan, or Sandstone Pearl on the lid to even the tone and create a smooth canvas.
Step 2:
Swap Out Your Liner
Instead of a traditional eyeliner pencil, step it up by using a bold shadow like Sapphire Shimmer or Emerald Shimmer as a top liner.
Step 3: Smudge for Drama
If you want to pump up the look, use that same bold color slightly smudged under the lash line to create a colorful smoky effect.
Step 4:
Tightline for Intensity
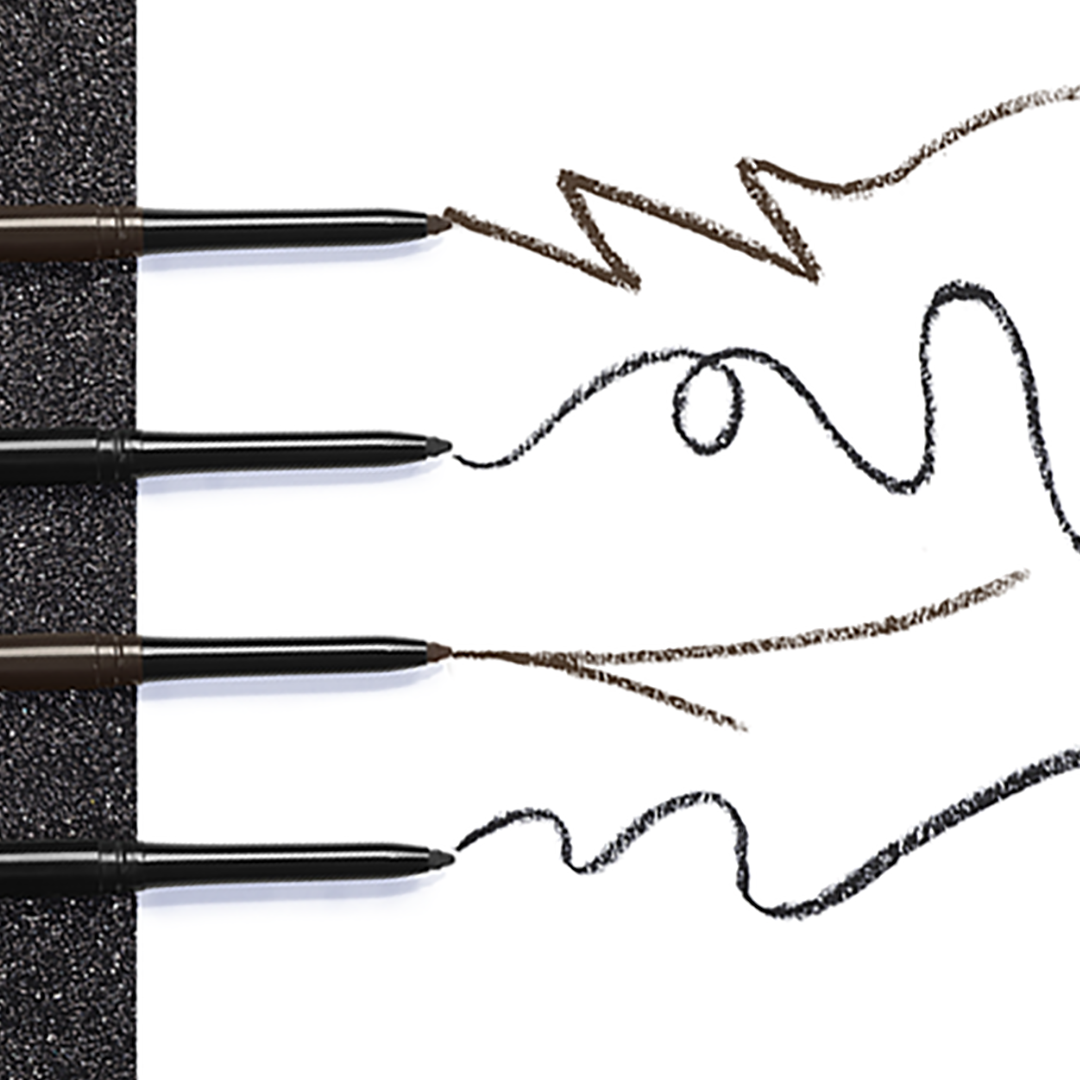
To give the eye a polished detailed finish, use Black Brown waterproof eyeliner pencil to tightline under the top lash line. When you use the tightlining trick, it helps make the lashes look thicker, fills in sparse spots, and adds intensity without a heavy liner look on the lid.
Pro Tip: match your pop of color to your outfit accessory like earrings, a scarf, or even your nails. Those subtle pops of color tie together for a cohesive look.
Step 5:
Define the Lower Lash Line
Using the same eyeliner, add a touch along the bottom lash line. Then, with a smudger brush, diffuse the liner into the bold color and blend it close to the lower lashes. This creates depth and dimension at the bottom lash line, giving extra excitement to your pop of color.
Sweep on two generous coats of mascara.
Keep the rest of your makeup simple, think radiant skin and a defined neutral lip, so your eyes truly steal the spotlight.
Smoky with a Twist
The classic brown or grey smoky eye never goes out of style, but let’s give it a glow-up.
Step 1:
Build the Smoky Base
Start with a deeper shade across the mobile lid and blend it upward just above the crease to create that smoky foundation.
Step 2:
Add the Unexpected
Instead of topping with a standard neutral layer on a jewel tone like Lavender Shimmer or a vibrant warm shade such as Cinnamon Shimmer or Goldstone Shimmer.
Press the color directly over the smoky base for instant depth and interest.
Step 3:
Blend for Soft Edges
Generously blend the edges so the color diffuses outward. This soft finish keeps the look sultry and wearable.
Step 4:
Light-Catching Pop
Dab a shimmer in the center of the lid. It acts like jewelry for your eyes, catching and reflecting light as you move.
Graphic Liner
When your liner becomes art.
Step 1:
Keep the Lid Neutral
Balance the look by washing a soft neutral shade like Smoky Taupe or Pink Opal Shimmer across the lid, keeping the attention on the liner.
Step 2:
Map the Design
Start with a creamy liner pencil like Black or Brown EyeSense® to sketch out your design-double wings, floating lines, or geometric shapes.
If you’re feeling playful, swap the dark eyeliner for a colorful liner instead. Add something striking such as Rose Gold Shimmer or Purple to bring modern drama to your design.
Step 3:
Define & Highlight
Grab your White Eyeliner Pencil for the finishing touch.
Adding white to the waterline instantly brightens your eyes, while using it between double wings or under floating lines makes your design pop with extra dimension.
Think of it as your highlighter for graphic liner. It sharpens the edges and makes the shapes stand out without adding heaviness.
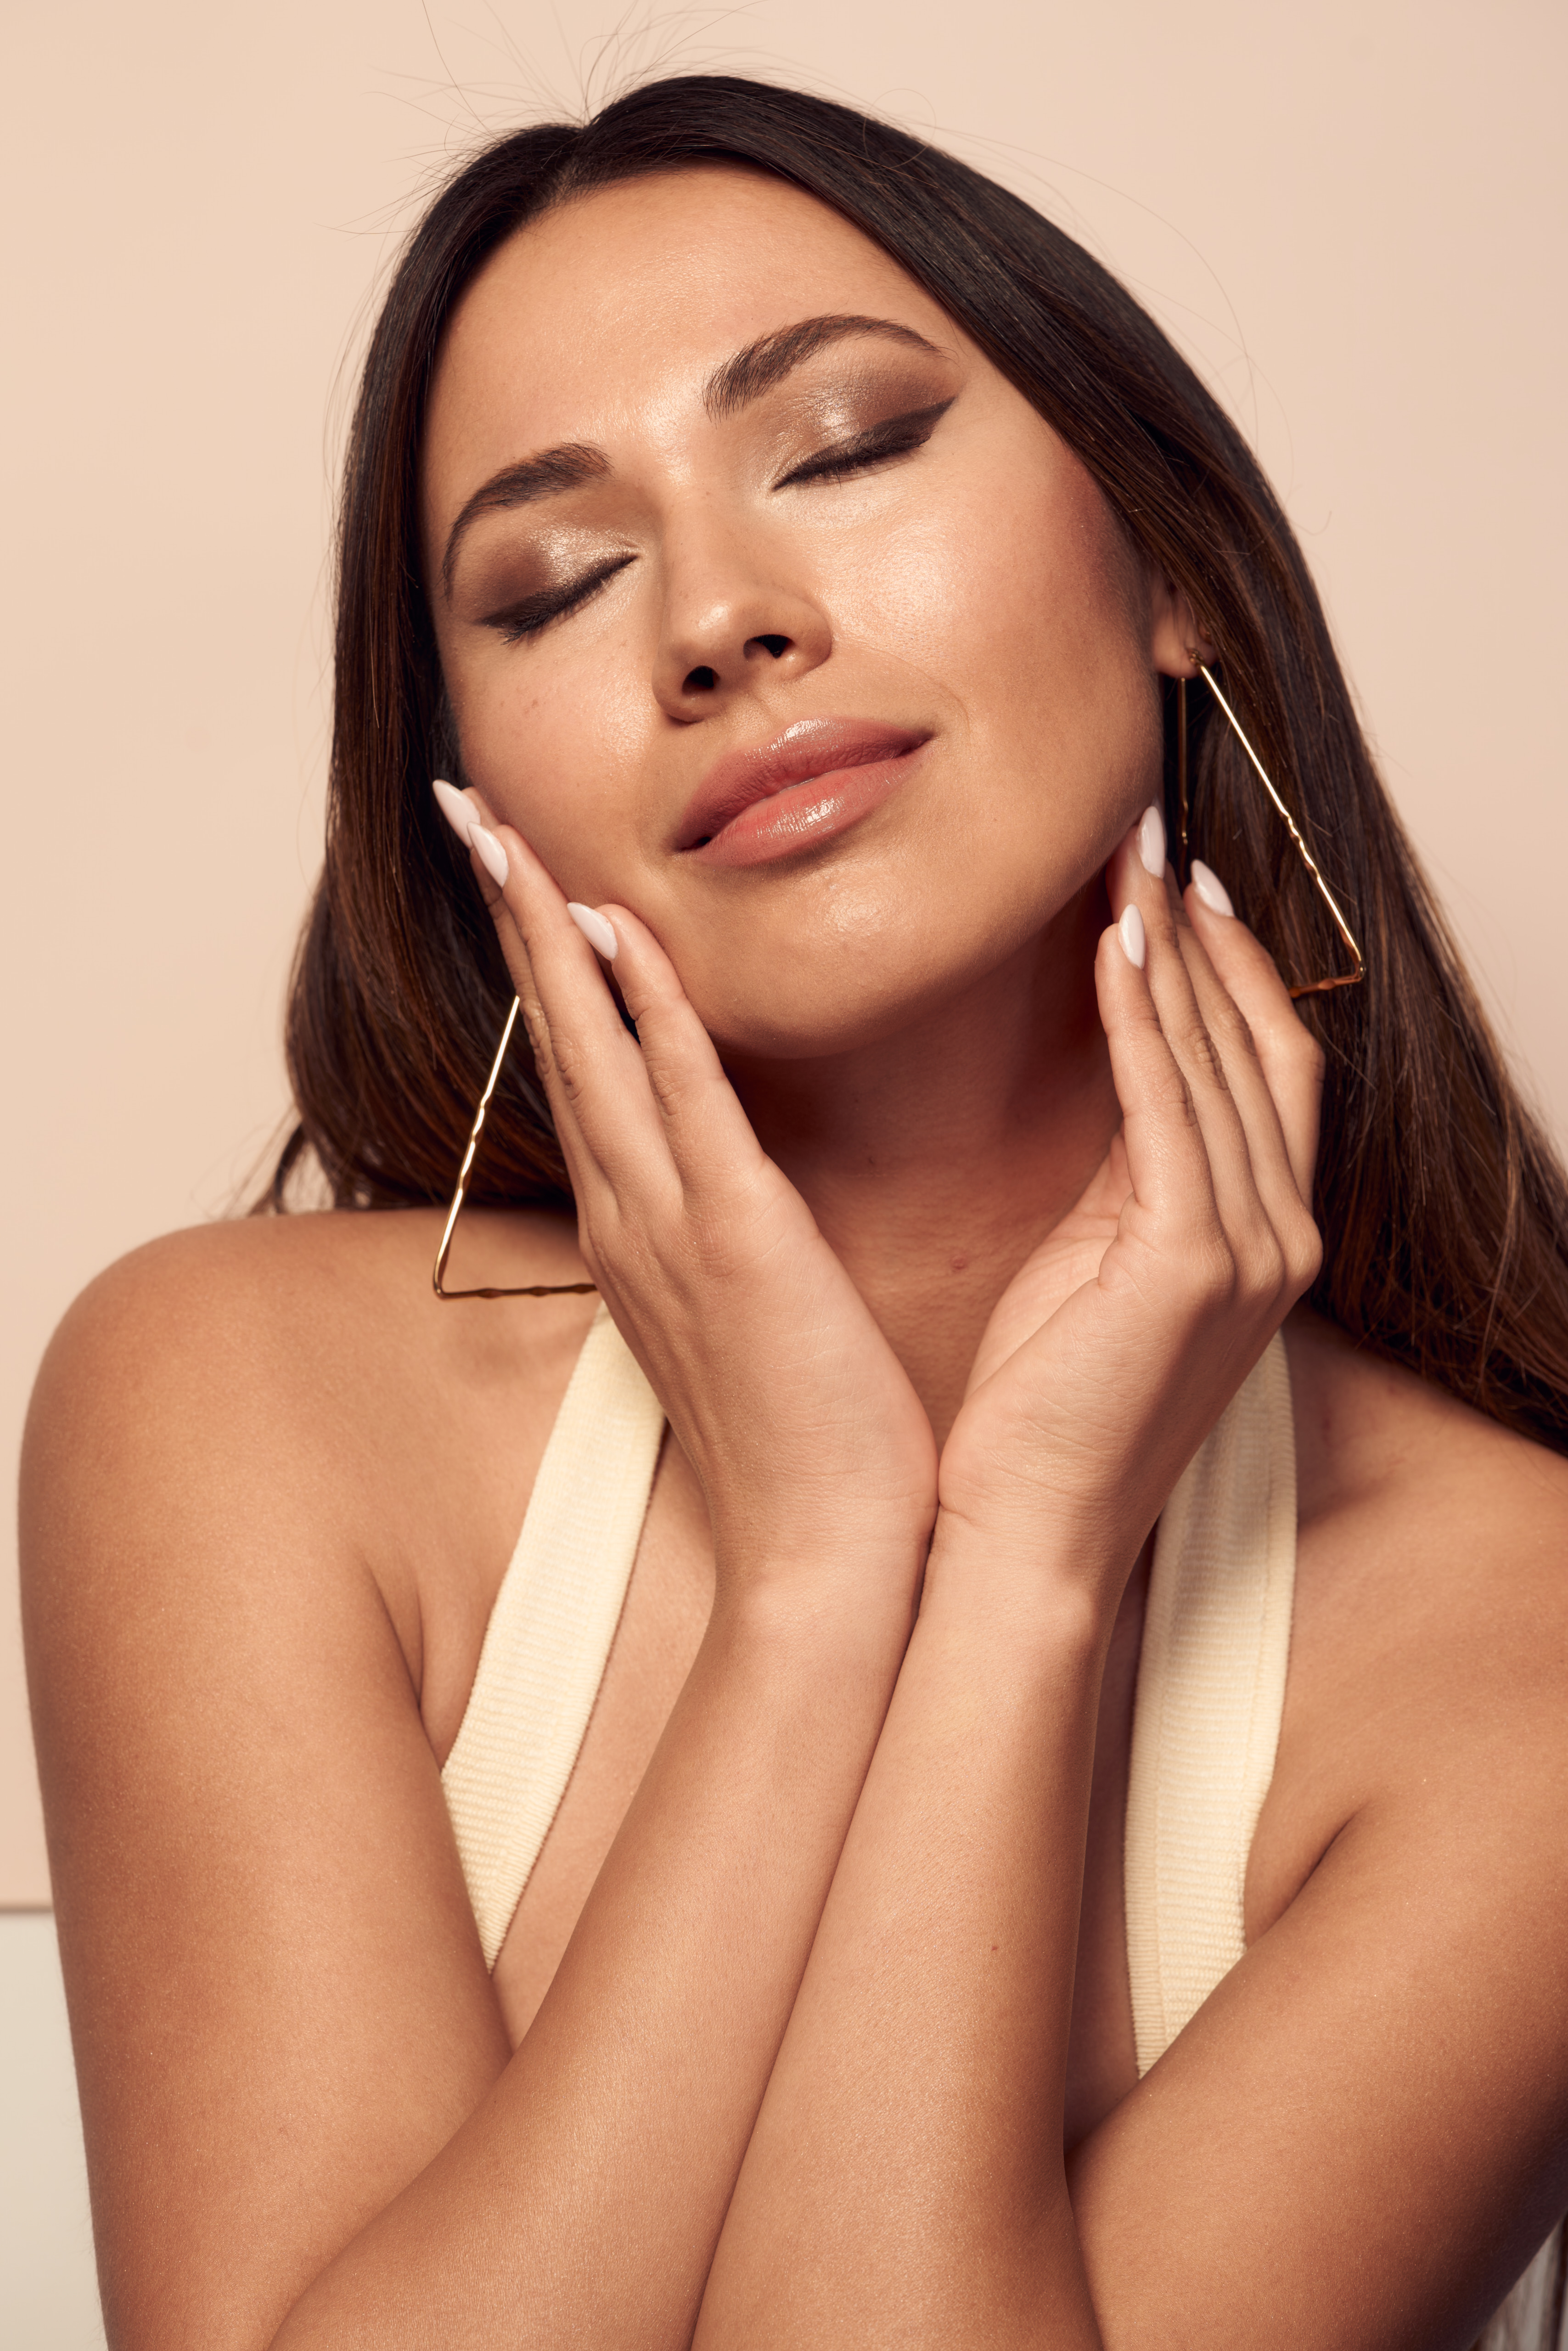
Monochrome Boldness
Why stop at the eyes? Carry the shade through your whole look.
Step 1:
Pick Your Color Story
Choose one standout color family as your theme. Here’s some examples:
- Berry Tones: Amethyst ShadowSense®, Belladonna BlushSense®, Charmed LipSense
- Bronze Glow: Bandana Shimmer or Phoenix Shimmer ShadowSense, Bronze Dust Loose Powder, Dawn Rising LipSense
- Coral Crush: Peaches ShadowSense, Pillow Peach Glowify® Bouncy Mousse, Coral Reef LipSense
Step 2:
Apply Sheer Layers
Start sheer on each feature (eyes, cheeks, and lips) then layer gradually if you want more impact. This keeps the look harmonious without tipping into “too much” and feeling overdone.
If you’re choosing the LipSense Long-Lasting Liquid Lip Color for any of the monochromatic pairings, apply three thin layers topped with a gloss to add moisture and seal the color.
Sometimes that sheer wash is all you need. Other times, building up the intensity takes the look from fresh and subtle to bold and editorial.
Step 3:
Blend for Harmony
Ensure everything is well-blended so the tones flow together seamlessly across the face.
Step 4:
Capture the Moment
Monochrome makeup photographs beautifully because the unified tones give an editorial, polished vibe. It’s equal parts bold and effortless.
Practice Makes Pop-Perfect
Here’s the secret to nailing bold eyes: don’t wait until the night of your big event to try something new.
Treat your makeup routine like a dress rehearsal.
- Test drive the technique. Play with that smoky blend or sharp wing on a random afternoon. You’ll get a feel for your hand control and brush placement.
- Experiment with colors. Try the jewel tones or fiery copper in your free time to see how it plays against your skin tone and eye color. Sometimes the shade you least expect becomes your new favorite.
- Make room for adjustments. Practicing ahead of time gives you freedom to tweak things. Maybe you like a softer blend, or maybe you want to go even bolder!
Final Swipe
Remember, bold eyes don’t have to wait for a wedding, special event, or ladies' night out.
Rock a purple liner to the office, wear shimmer for brunch, or swipe on a graphic wing just because it’s Tuesday.
Makeup is playtime, not pressure.
At the end of the day, bold means different things to different people.
Bold eye looks aren’t about perfection, it’s about expression. Makeup wipes off, but the confidence it leaves behind sticks with you.
So, grab that liner, dip into that tube of shimmer, and let your eyes be your most daring accessory.


